
 Stone Cutting Machines
 Stone Polishing Machines
 Bridge Saw Machines
 Stone Quarry Cutting Machines
 Stone Block Cutter Machine
 CNC Stone Wire Saw Machine
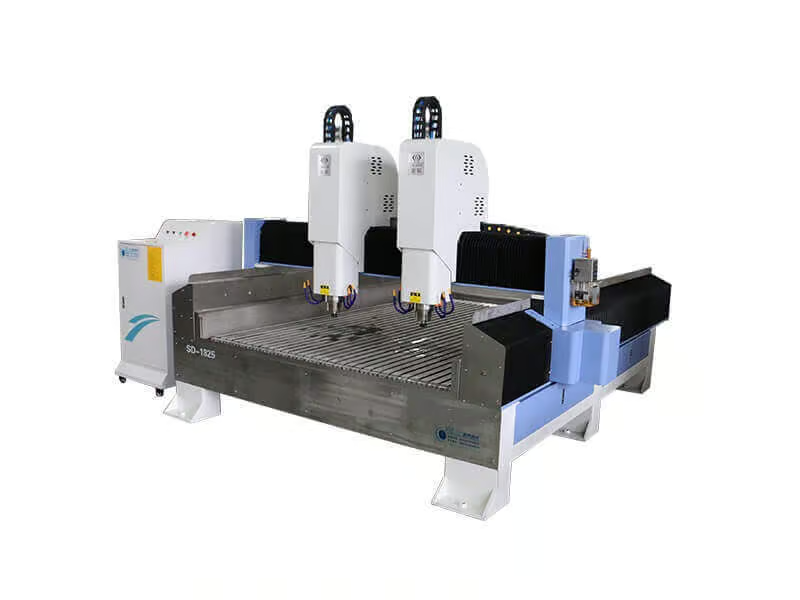 Stone Engraving Machines
 Thin Stone Veneer Saw Machine
 Horizontal Stone Slab Splitting Machine
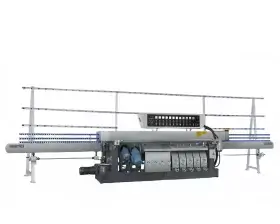 Stone Edge Polishing Profiling Machine
 Stone Auxiliary Equipment
🔬 The Physics of Milling Resistance
When a 22kW heavy-duty spindle drives a metal-bonded profiling wheel deep into 40mm thick solid granite to carve an Ogee edge, it generates hundreds of kilograms of lateral resistance force. The stone naturally wants to push away from the blade. A Horizontal Continuous Polisher counters this force entirely through friction. The machine utilizes a “sandwich clamping” method: pneumatic pressure beams push down from above, compressing the slab into the high-friction, vulcanized rubber conveyor belt below. If this massive belt becomes loose, the friction coefficient drops drastically, allowing the stone to drift sideways during the cut.
🏗️ Restoring Precision: A Texas Architectural Success
A specialized architectural stone factory in Texas was processing a massive order of thick exterior granite stair treads. The factory manager noticed an unacceptable defect: the normally razor-straight edges were exhibiting “wavy” variations (chatter marks). Initially suspecting a blown spindle bearing, they contacted MosCut support. Through remote video diagnostics, our maintenance engineers identified the true culprit: the main conveyor belt had naturally stretched after 12 months of high-load continuous operation. By executing a strict 15-minute tensioning and tracking protocol on the tail roller, the factory eliminated the belt slip entirely, instantly restoring the treads to their perfectly straight, flawless geometry.
The Danger of Slab Drift
Friction is your only defense against lateral milling forces.Unlike Vertical edge polishers that rely heavily on the sheer gravitational weight of the stone standing upright, a Horizontal flatbed relies on the surface tension of the belt. When a vulcanized rubber belt is loose, it cannot adequately grip the driving rollers.
The cascading failure: First, your precision vanishes. The slab micro-shifts backward or sideways under the cutting load, destroying the profile geometry. Secondly, a loose belt causes the main variable-frequency drive (VFD) motor to slip against the drive roller. This friction slippage generates intense heat, which can permanently glaze or burn the underside of the expensive rubber belt, while putting dangerous shock-loads onto the main gearbox.
Diagnosing a Loose Belt: Symptoms of Failure
Listen to your machine and inspect your stone for the warning signs.📉 Wavy Profiles
If your straight edges are suddenly wavy, or if your Ogee depth fluctuates, look at the belt first. When the shaping router hits a particularly dense patch of quartz inside a granite slab, the increased resistance causes the poorly gripped stone to slide away slightly, creating a shallow dip in the profile.
🔊 Squeaking Under Load
One of the most obvious auditory signs. When a large slab enters Spindle No. 1 (heavy stock removal), the sudden increase in torque causes the drive roller to spin faster than the loose belt can travel. This emits a loud, high-pitched rubber squealing or groaning sound from beneath the machine chassis.
⚙️ Edge Fraying (Tracking Issue)
A belt that is loose often begins to “wander” or drift off-center. If you observe the thick red rubber belt rubbing against the steel side-plates of the machine—causing the rubber edges to fray, shred, or deposit black rubber dust on the floor—the belt is both loose and misaligned.
The Tensioning Protocol: Symmetrical Adjustment
Balance is critical. Never over-tighten one side of the tail roller.Step 1: Unlocking the Slider
Ensure the machine is completely powered off (E-Stop engaged). Locate the tail roller at the loading end of the machine. You will find heavy-duty threaded tensioning bolts on both the left and right sides. Use an industrial wrench to loosen the locking nuts securing the sliding bearing blocks.
Step 2: Equal Measurement
Never adjust by feel alone. Use a measuring tape or digital caliper to measure the exact length of exposed thread on both tensioning bolts. If you tighten the left bolt by pushing it outward exactly 5mm to increase tension, you must tighten the right bolt by exactly 5mm. Asymmetry will derail the belt.
Step 3: The Tap Test
Once adjusted and locked, perform a physical tension check. Go to the center span of the conveyor (where it hangs underneath the machine). Press up firmly with your hand or strike it lightly with a wooden handle. It should feel taut and springy, rebounding sharply like a heavy drum skin, with minimal sagging.
Tracking and Alignment: Keeping it Centered
Tension gives you grip; tracking gives you a perfectly straight line.
The Golden Rule of Tracking
Even if a belt is tight, it might not run straight. This is called a tracking error. The golden rule of conveyor belt tracking is simple: The belt will always walk toward the loose side. Therefore, tighten the side it is running toward.
The Correction Procedure: Start the machine without any stone and run the conveyor at maximum speed. Stand at the tail end and observe. If the red rubber belt is slowly drifting and rubbing against the left steel guardrail, the left side is slightly looser than the right. Stop the machine, give the left tensioning bolt a very small adjustment (1/4 or 1/2 turn to tighten it), lock it, and run the machine again. The increased resistance on the left will force the belt to walk back toward the right (the center line).
Build Your Production on an Unshakeable Foundation
Eliminate wavy profiles, chipped corners, and ruined stone slabs. The MosCut Horizontal Continuous Edge Polisher features an extra-wide, vulcanized conveyor system engineered to absorb extreme lateral milling forces without slipping. Upgrade your cutting precision today.
View the Horizontal Polisher