
 Stone Cutting Machines
 Stone Polishing Machines
 Bridge Saw Machines
 Stone Quarry Cutting Machines
 Stone Block Cutter Machine
 CNC Stone Wire Saw Machine
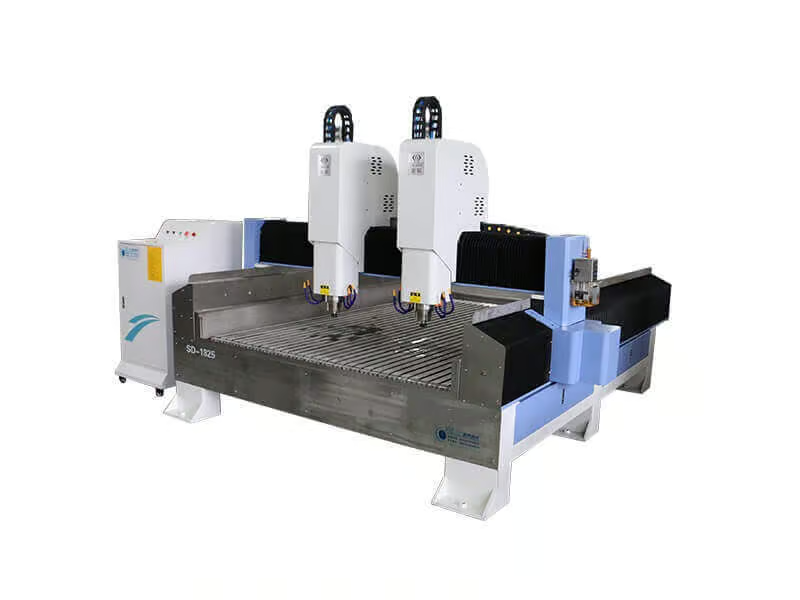 Stone Engraving Machines
 Thin Stone Veneer Saw Machine
 Horizontal Stone Slab Splitting Machine
 Stone Edge Polishing Profiling Machine
 Stone Auxiliary Equipment
Operating high-tension cutting tools requires strict adherence to kinetic safety protocols. According to operational safety directives and studies published by the Natural Stone Institute (NSI), a diamond wire traveling through a quarry face at velocities exceeding 30 meters per second stores immense potential energy. When a breakage occurs, the resulting whip effect poses a severe hazard to machinery and personnel. Industrial field data reveals a stark reality: 90% of diamond wire snapping incidents are not caused by defective steel cables or poor diamond bead quality. They are the direct result of improper joint crimping or the failure to manage rotational stress during the jointing process.
A massive limestone extraction facility in India illustrates the financial cost of poor jointing practices. Due to a lack of formal training, their operators were using standard sledgehammers to physically smash steel joints closed. This crude method crushed the internal steel wire filaments, causing the diamond wire to snap 3 to 4 times per shift. The crew was losing up to 2 hours every day just searching for the broken ends, re-threading the boreholes, and beating new joints. After the MosCut technical support team intervened, we equipped them with proper hydraulic crimping dies and trained them on our strict ‘Strip, Pre-twist, and Crimp’ Standard Operating Procedure (SOP). Their wire breakage rate immediately plummeted by 95%, and the overall square-meter cutting lifespan of their consumables increased by 15%.
The Weakest Link: Why Do Diamond Wires Snap?
It is rarely the high-tensile steel cable that fails first. The death of a diamond wire almost always begins at the joint.A premium diamond wire consists of a multi-strand, high-tensile steel core covered in tough vulcanized rubber or injected plastic. While this cable is incredibly strong, creating a continuous loop requires cutting it and joining the two ends together. This joint is inherently the weakest point in the system.
Breakages generally stem from three primary culprits:
1. Joint Slippage: If insufficient crimping pressure is applied, the high tension from the machine’s backward travel will simply pull the bare steel wire right out of the copper or steel joint.
2. Excessive Tension: If the operator pulls the wire saw machine backwards too aggressively, or fails to slow down when the wire hits a hard quartz inclusion, the sudden spike in tension exceeds the yield strength of the joint.
3. Worn Flywheels: The large drive wheels of the machine are lined with rubber profiles. If these liners wear down completely, the metal joint will strike the bare metal wheel, causing intense friction sparks, heat fatigue, and instantaneous wire snapping.
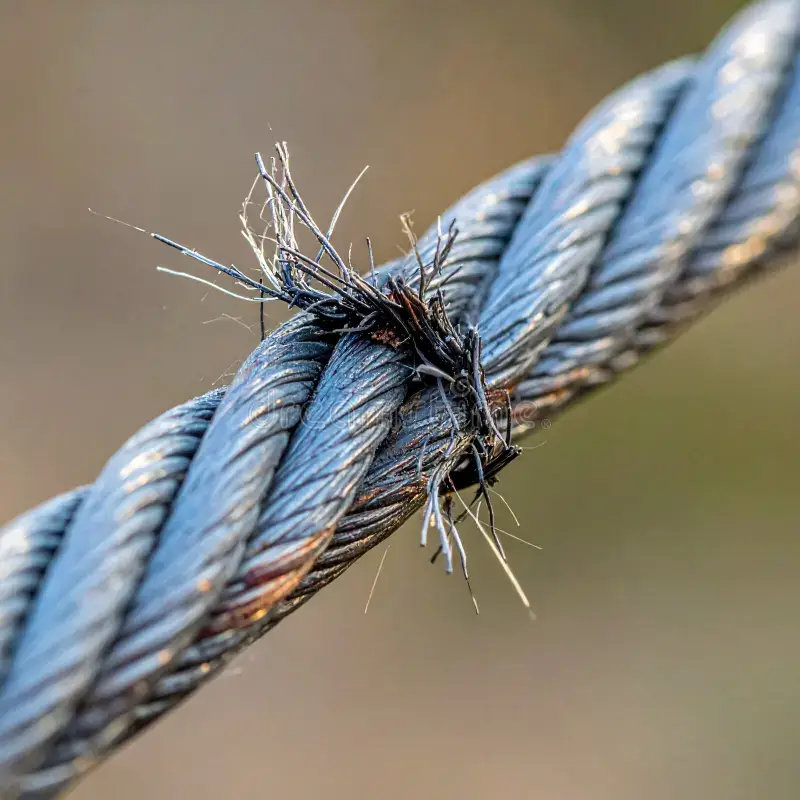
Step 1: Precision Stripping
You cannot secure a joint over rubber. Exposing the bare steel cable requires surgical precision.Before a joint can be applied, the protective rubber or plastic coating must be removed from both ends of the wire. Typically, you need to expose about 1.5 cm of bare steel cable on each side to fit fully inside the metal connector.
The Ultimate Mistake: Stripping the wire is where many novice operators unknowingly ruin the cable. When using a razor knife or wire strippers to cut away the rubber coating, you must be incredibly careful not to scratch or nick the steel filaments underneath. The steel core is under immense tension during operation. If even a single, microscopic outer wire strand is scored by a knife blade, that tiny scratch will become a stress fracture, and the entire cable will snap exactly at that point within hours of operation.

Step 2: The Hydraulic Crimping Process
Throw away the hammer. Securing a joint that withstands thousands of pounds of tension requires dedicated hydraulic tools.Using a hammer to smash a joint flat destroys the structural integrity of the steel cable inside and creates a joint that will not pass smoothly through the diamond beads or the machine’s flywheels. You must use a dedicated manual or battery-powered hydraulic crimper.
The Overlapping Crimp Method:
Insert both stripped ends of the wire into the tubular joint. You should never start crimping from the very end of the joint. Always position the hydraulic jaws in the absolute center of the joint for the first crimp. Once the center is secured, move slightly to the left, overlapping the first crimp by 50%, and crimp again. Repeat this overlapping process moving outwards towards the ends. This technique forces the metal of the joint to flow inward, gripping the steel cable with massive, evenly distributed pressure without pinching it off.

The Secret to Lifespan: Pre-Twisting
If your wire doesn’t spin on its own axis while cutting, it will wear flat on one side and die prematurely.This is the most closely guarded secret among master quarry operators. Before you apply the final hydraulic crimp to close the wire loop, you must pre-twist the cable.
Why is this necessary? A diamond wire is covered in cylindrical diamond beads. If the wire just drags through the rock, only the bottom edge of the beads will touch the stone. They will quickly wear completely flat on one side (known as oval wear), rendering the wire useless even though 80% of the diamonds remain untouched.
The Golden Rule: Before closing the loop, the operator must manually twist the wire. The standard industry metric is 1.5 to 2 full twists for every 1 meter of wire length. Once crimped shut, this stored torsional energy forces the entire wire to constantly spin on its own axis as it runs through the cut, ensuring 360-degree, perfectly even wear on every single diamond bead.

Tension Management and Flywheel Alignment
A perfect joint will still snap if the machine pulls it at an acute angle.Wire snapping is not always the fault of the joint itself; it is frequently caused by poor machine setup. A diamond wire is designed to handle immense linear tension, but it is highly vulnerable to severe bending stresses.
When positioning the primary wire saw machine on its tracks, the main drive flywheel and the smaller guide wheels (pulley wheels) must be perfectly aligned with the cut trajectory. If the machine is set at an offset angle, the wire is forced to bend sharply as it enters and exits the wheels. Every time the stiff, metal-crimped joint passes over these misaligned wheels at high speed, it suffers violent bending fatigue. After a few hundred revolutions, this cyclical stress will shatter the steel core right at the edge of the joint connector.

Don’t Compromise on Your Consumables
Stop dealing with continuous wire breakages. Equip your quarry with MosCut premium injected diamond wire and heavy-duty hydraulic joining tools for uninterrupted, high-speed cutting.
Explore MosCut Diamond Tools